
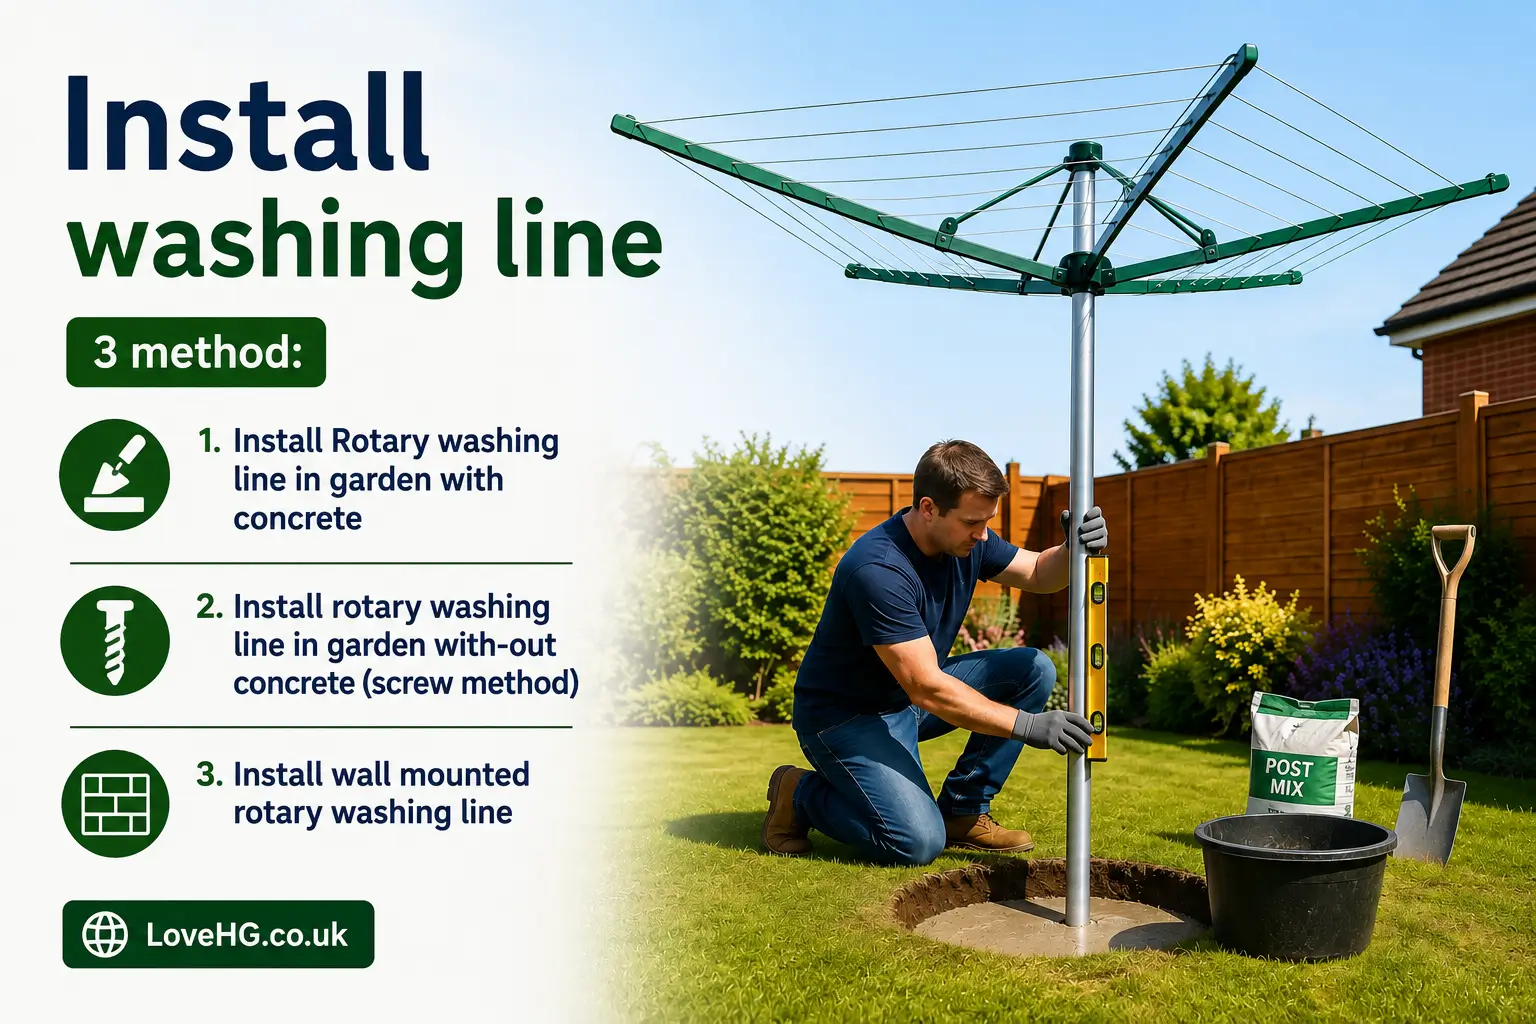
How to Install Rotary Washing Line (3 Methods)
As you know there are 4 main types of rotary washing lines: ground-fixed, removable, wall-mounted and freestanding/portable. The first three types usually need some form of installation. A freestanding or portable rotary washing line has its own legs, so you can move it indoors or outdoors whenever you want and it does not need permanent installation.
In this guide, we will explain 3 methods to install a rotary washing line: with concrete, without concrete and on a wall.
Table of Contents
Firstly, let’s discuss the method with concrete.
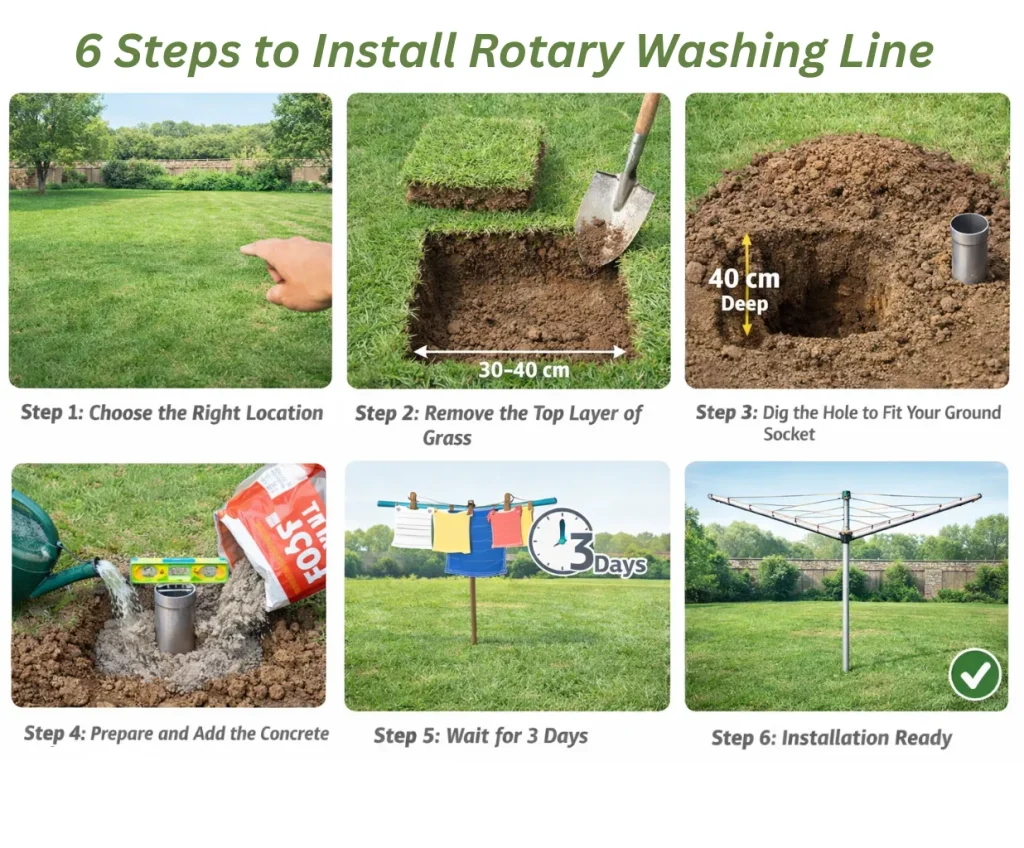
1st Method: Install Rotary Washing Line in the Garden with Concrete (6 Steps)
Things You Need Before You Start
- Rotary washing line with ground socket (usually included)
- Gravel or ready-mix concrete
- Spirit level
- Digging spade
- Water
Step 1: Choose the Right Location
If you are asking the question ‘How to Install a Rotary Washing Line’, I am sure that you will have already selected the best location for it. Mostly, people choose the garden to install the rotary washing line. Here are some important things to check before installing:
- Enough airflow.
- At least some sunlight.
- Not a place with shade, such as behind walls, buildings, or trees.
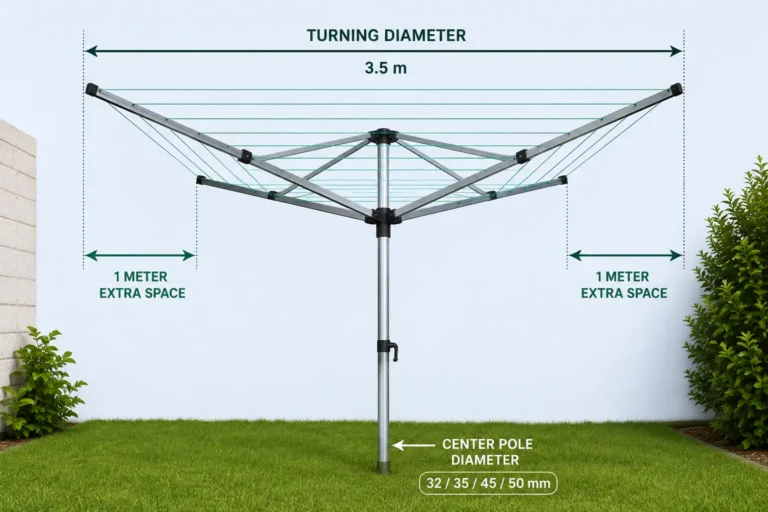
- There is enough space around the line for clothes to spin freely.
- Not in the way of garden paths.
Step 2: Remove the Top Grass Layer
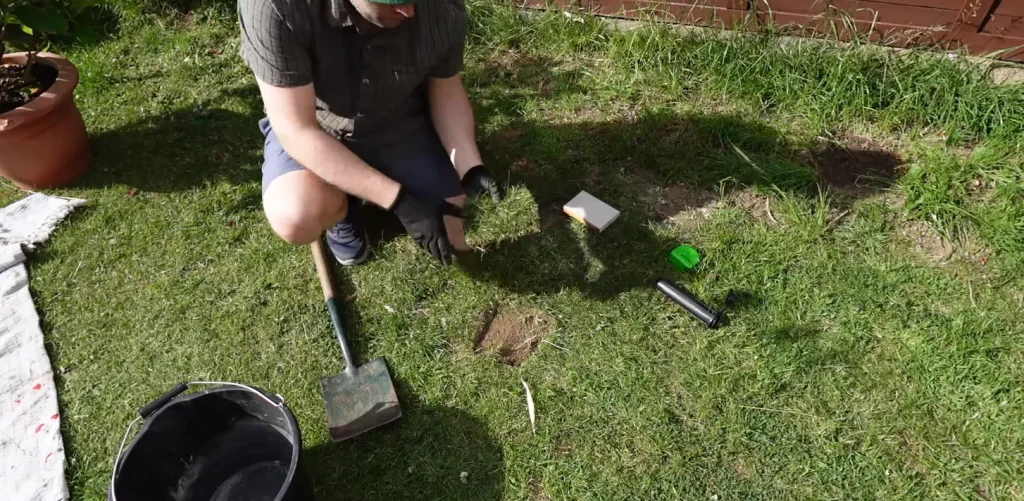
First of all, remove the top green grass layer from the garden. Cut and lift the grass carefully, around 30-40cm on all four sides, as shown in the image below. Keep this grass to one side because you will place it back later to cover the concrete and keep the garden looking neat.
Step 3: Dig the Hole to Fit Your Ground Socket
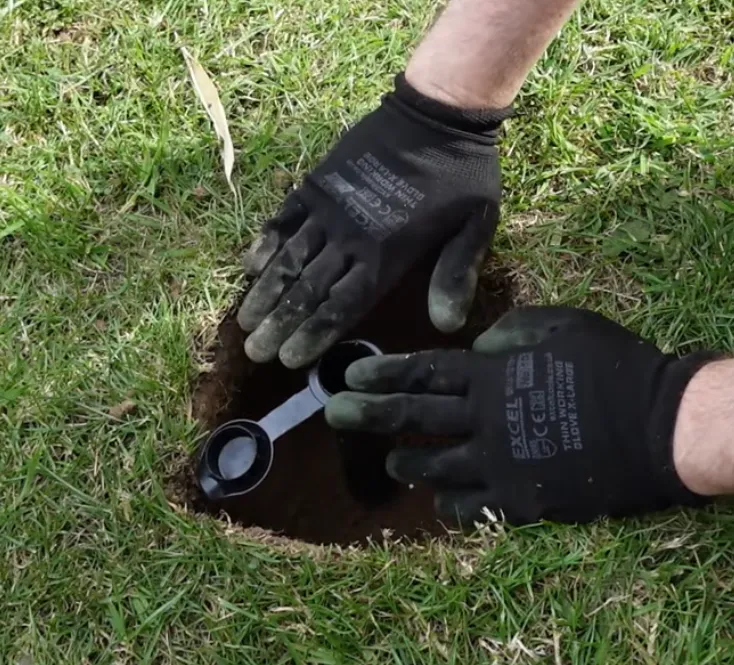
After removing the grass, measure the ground socket that comes with the washing line. If the socket is 40 cm, make sure to dig the hole at least 40 cm deep, or a little deeper. The hole should also be wide enough to hold concrete around the socket. The top of the socket should sit level with the garden ground.
Step 4: Prepare and Add the Concrete
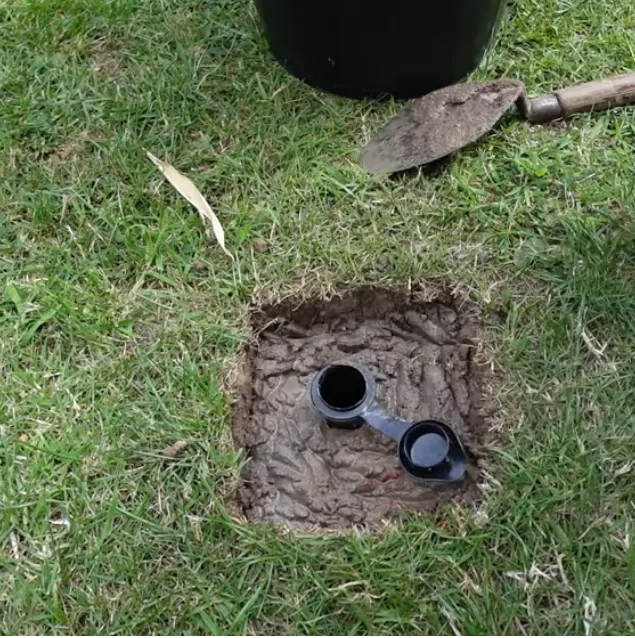
Pour a small amount of water into the hole first. This helps the concrete set properly. Prepare the concrete and add it into the hole.
If you do not want to prepare the concrete yourself, you can use a ready-made post mix instead. This post mix works the same way and is easier to use: just pour water into the hole and add the post mix.
If your ground socket is open at the bottom, put tape over the end. This stops concrete from going inside the socket and blocking the pole.
Next Place the ground socket in the centre and press it into the concrete. Must use a spirit level to make sure the socket is straight and level with the ground. Using a spirit level is very important to stop the washing line from leaning.
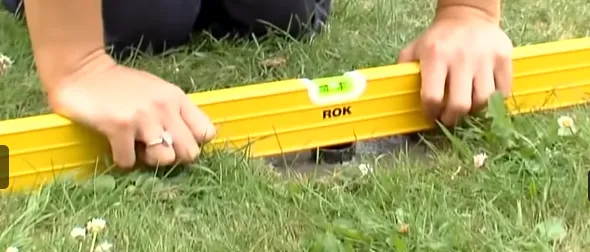
Step 5: Wait for the Concrete to Dry (Around 3Days)
Once the socket is fixed and level, leave it to dry. It usually takes around 72 hours, but this can depend on the weather. In warm and dry weather, it may set faster. Do not use the washing line until the concrete is fully dry, and make sure to give it enough water during the 3 days so it becomes stronger.
Step 6: Fit the Rotary Washing Line (Last Step)
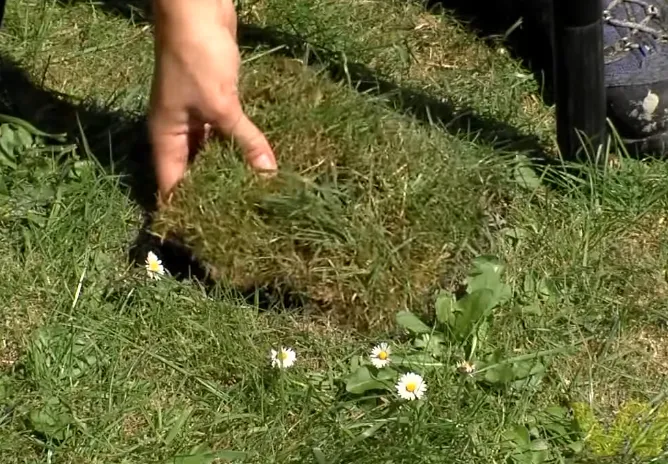
After the concrete is completely dry, place the grass layer back over the hole. Cut a small opening so the socket lid is visible, as shown in the image below.
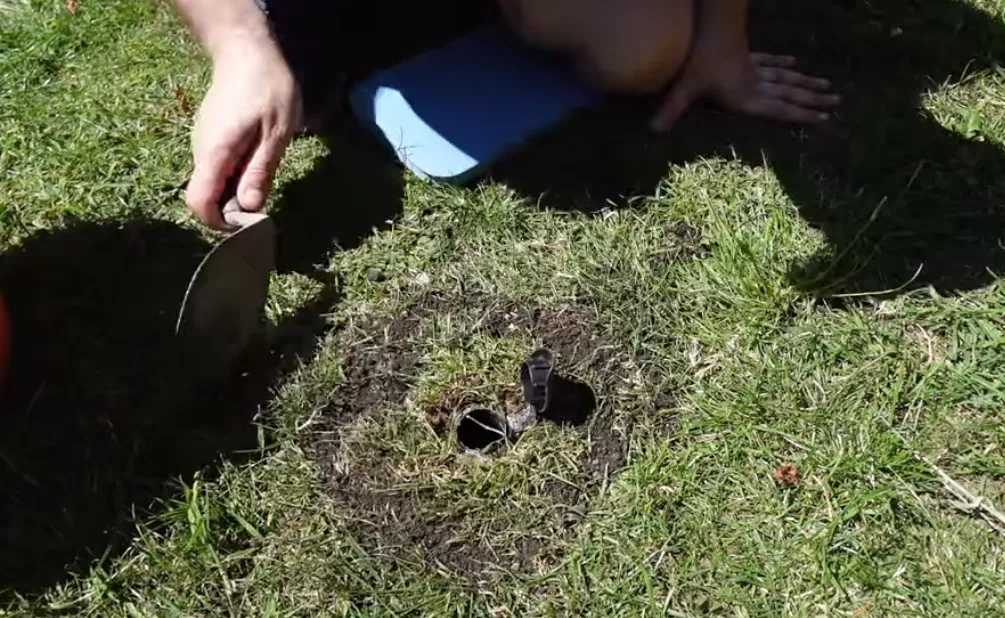
Open the socket and insert the rotary washing line pole. Set it up fully and check that it spins easily and stands straight. Now your rotary washing line is ready to use. It is strong, stable, and properly installed.
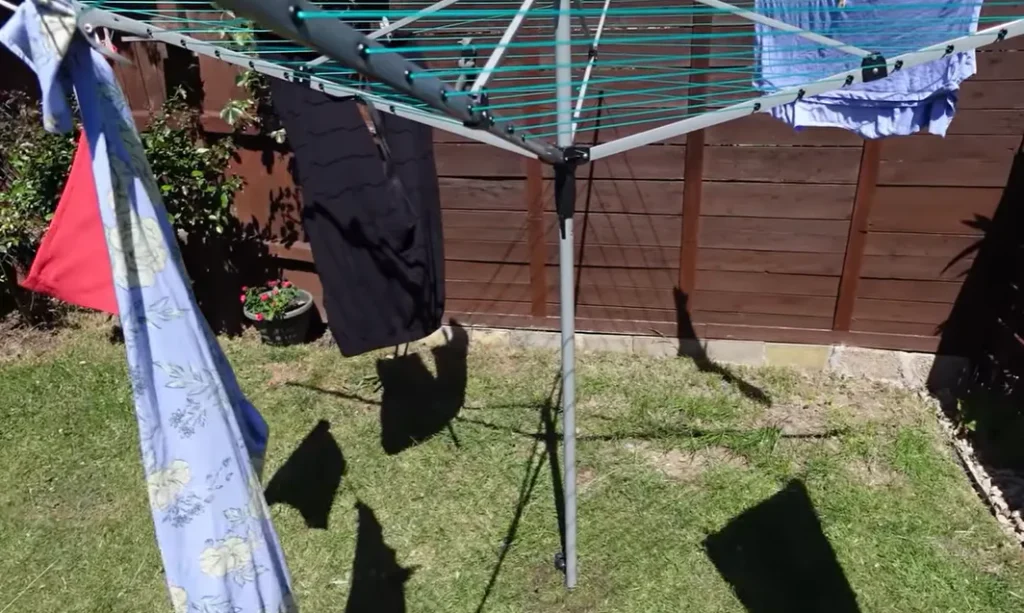
2nd Method: Install a Rotary Washing Line Without Concrete
We call this method a “beach-style” washing line anchor, to make it easier to understand.
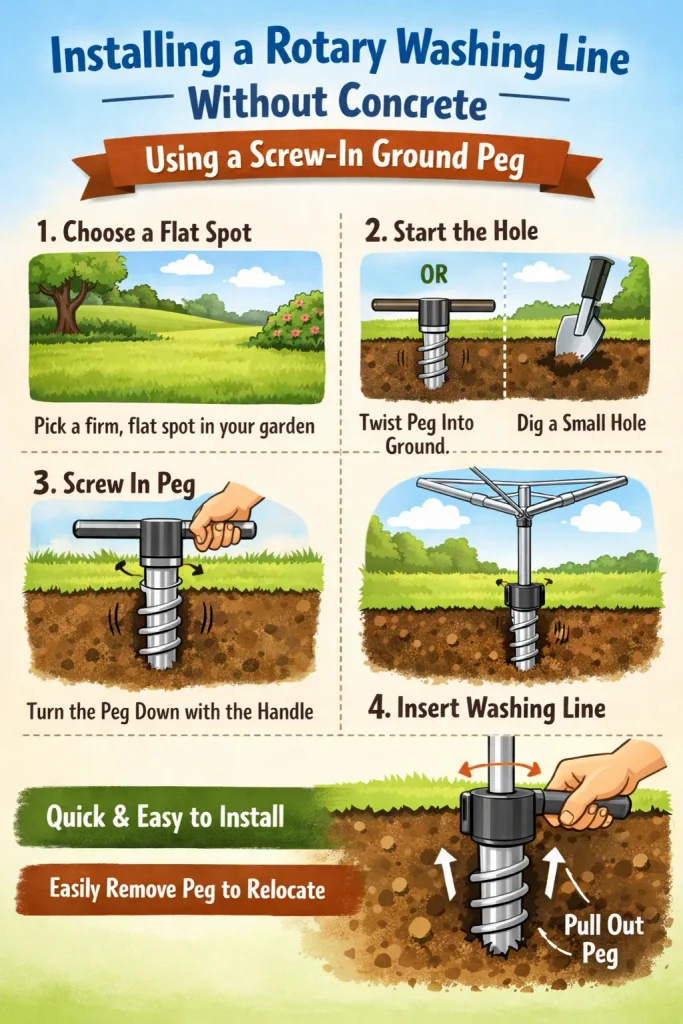
For this method, you can use a screw-in ground peg. First, choose a flat and firm spot in your garden. Place the ground peg on the soil. You can push it into the ground by turning it, or make a small starter hole with a spade to make the job easier. Use the metal handle in the holes of the peg to help turn it until it is fully in the ground and feels strong and steady. Once the peg is secure, place the rotary washing line into it.
This method is quick, easy, and allows you to remove the peg later if you want to move the washing line.
3rd Method: Install a Wall-Mounted Rotary Washing Line (6 Steps)
A wall-mounted rotary washing line is a good option if you have a small garden or do not want to dig a hole for a ground socket. Instead of fixing the pole into the ground, the washing line is attached to a strong wall using a wall bracket.
This method is usually quick to install, but you must make sure the wall is strong enough to support the washing line, especially when it is full of wet clothes.
Things You Need Before You Start
- Wall-mounted rotary washing line with mounting bracket
- Drill
- Masonry drill bit
- Wall plugs and screws
- Spirit level
- Pencil
- Tape measure
- Screwdriver or drill driver
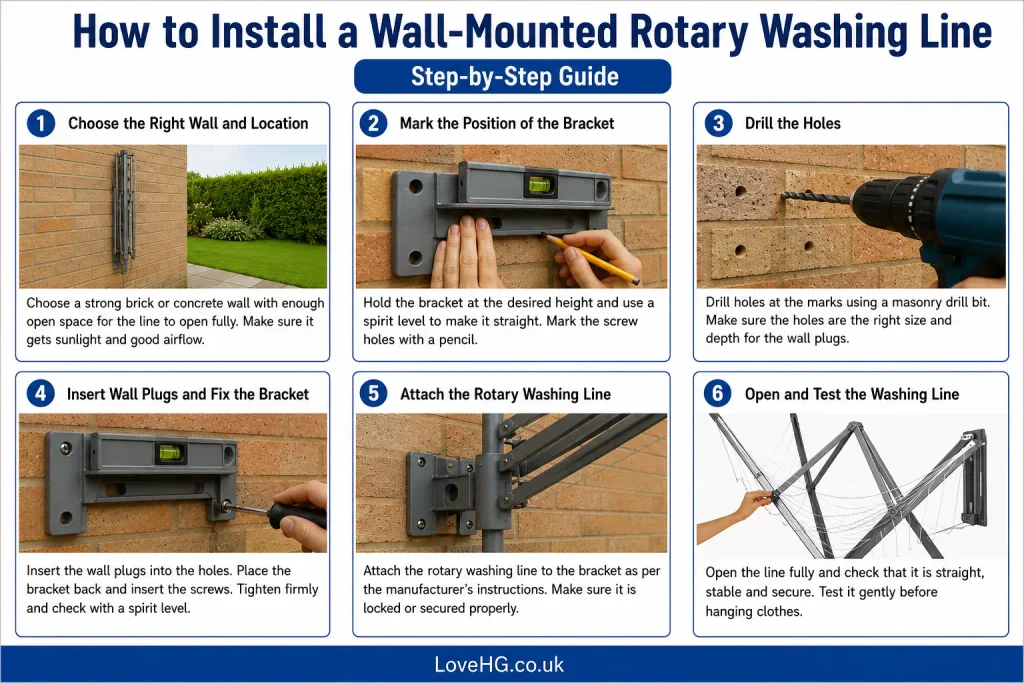
Step 1: Choose the Right Wall and Location
First, choose a suitable wall for your washing line. A strong brick or concrete wall is usually the best option. Avoid weak, damaged or loose walls.
Make sure there is enough open space in front of the wall for the washing line to open fully. Check that it gets some sunlight and has good airflow.
Also, make sure the washing line will not block a garden path, door, window or other area when it is open.
Step 2: Mark the Position of the Bracket
Hold the wall bracket against the wall at the height you want to install it. Use a spirit level to make sure the bracket is straight.
Once it is level, use a pencil to mark all the screw holes on the wall.
Before drilling, double-check the position and make sure the washing line will have enough space to open properly.
Step 3: Drill the Holes
Remove the bracket and drill holes at the marks you made.
If you are drilling into brick or concrete, use a suitable masonry drill bit. Make sure the holes are the correct size and depth for the wall plugs and screws you are using.
Try to drill straight so the bracket can sit flat against the wall.
Step 4: Insert the Wall Plugs and Fix the Bracket
Push the correct wall plugs into the holes. Then place the mounting bracket back against the wall.
Insert the screws through the bracket and tighten them firmly. Use a spirit level again to check that the bracket is still straight.
Do not overtighten the screws, as this could damage the wall or fixing.
Step 5: Attach the Rotary Washing Line
Once the bracket is securely fixed to the wall, attach the rotary washing line to it.
Follow the instructions supplied with your particular washing line because the connection can be different between models.
Make sure the washing line is properly locked or secured in the bracket before opening it fully.
Step 6: Open and Test the Washing Line
Open the rotary washing line fully and check that it is straight, stable and secure.
Gently test it before hanging clothes on it. Check that the arms can move freely and that the washing line does not pull away from the wall.
Once everything is secure, your wall-mounted rotary washing line is ready to use.
You can also watch this video:
Conclusion
Installing a rotary washing line is not difficult when you choose the right method for your garden. A concrete ground socket gives a strong and permanent installation, while a screw-in ground peg is quicker and easier to remove. If you have limited garden space, a wall-mounted rotary washing line can be a good alternative. Always check the manufacturer’s instructions before installation and make sure the washing line is secure before hanging wet clothes.
FAQs
What are the different types of rotary washing lines?
There are 4 main types of rotary washing lines:
1. Ground-fixed rotary washing line: Installed permanently in the ground using a ground socket and usually concrete.
2. Removable rotary washing line: Fitted into a ground socket but can be removed when needed.
3. Wall-mounted rotary washing line: Attached to a strong wall using a mounting bracket, ideal for smaller gardens.
4. Freestanding or portable rotary washing line: Has its own legs, so you can move it indoors or outdoors without permanent installation.
Learn more in-depth about 4 Types of Rotary Washing Lines.




2 Comments