
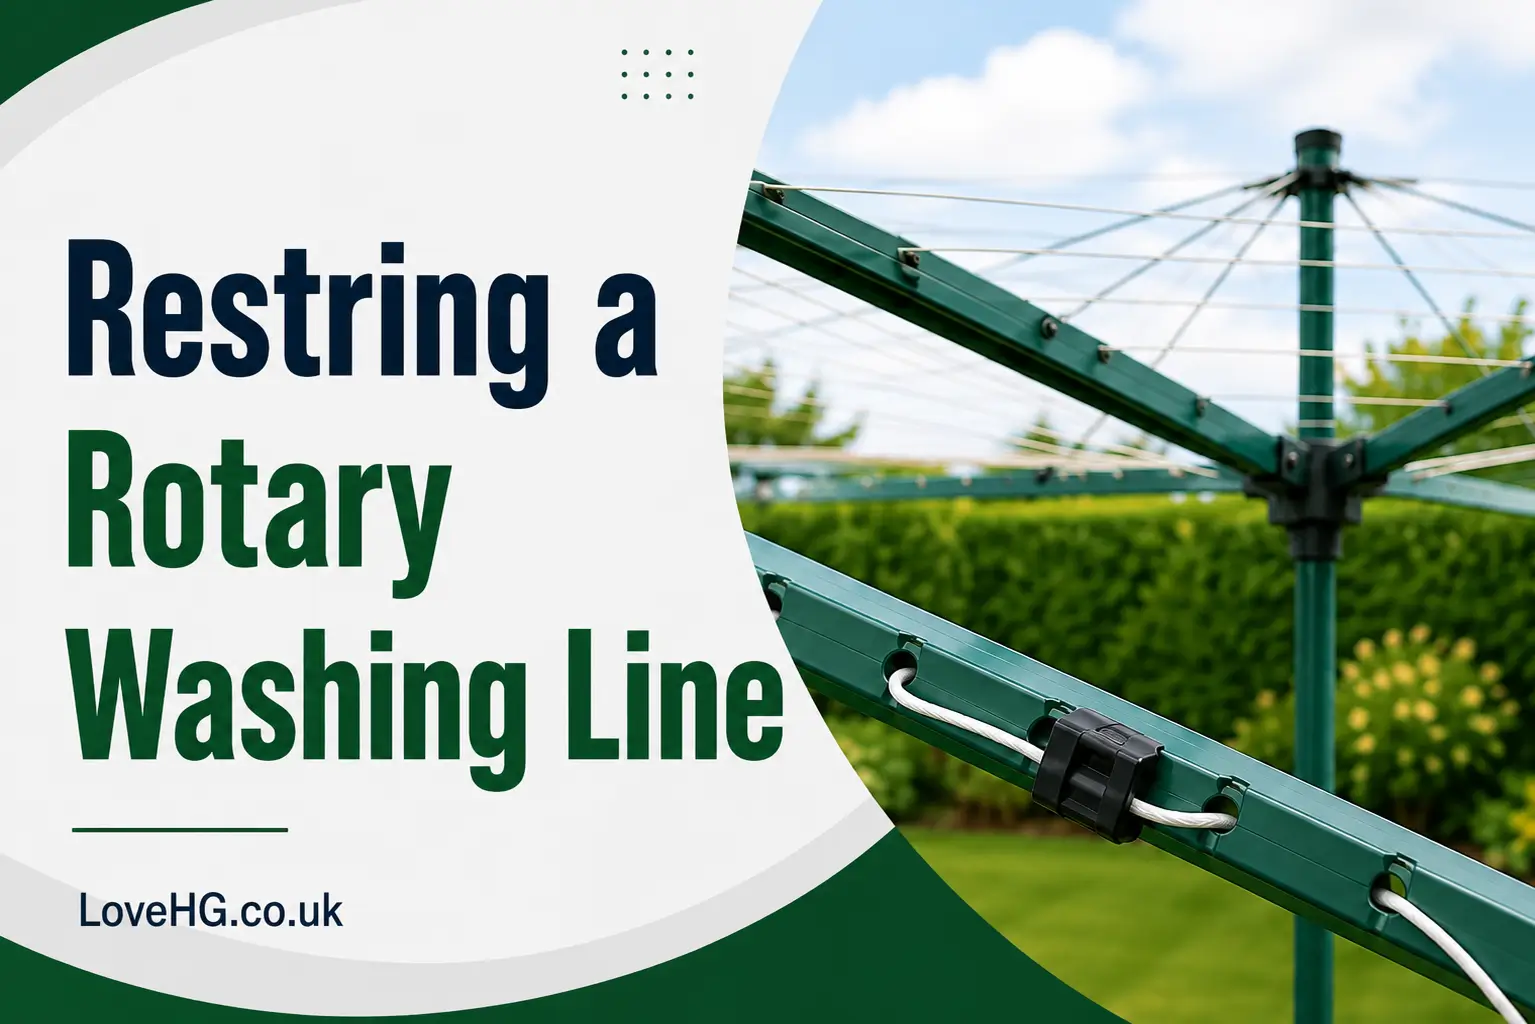
How to Restring a Rotary Washing Line
To restring a rotary washing line, first measure the length of the line you need and buy a little extra. Remove the old line completely and check the frame for damage, cleaning or tightening it if needed. You can restring it one arm at a time or restring all the arms at once, depending on what’s easier. Lay the new line straight, then thread it through the arms following the old path, wrapping it around connectors to prevent wear. Pull the line so it is firm but still has a little bounce, tie a strong knot, and trim any extra. Finally, test by hanging light clothes, adjusting tension if needed, to ensure the line moves smoothly and lasts longer.
Let’s discuss this in a little more detail. By the end of this article, you will have a complete guide to restringing a rotary washing line properly.
Tip: Some rotary washing lines have different ways to restring, so it is best to read the manufacturer’s instructions to restring them correctly.
How to Restring a Rotary Washing Line (5 Steps)
1: Tools you need:
- New washing line.
- Tape measure.
- Scissors or wire cutters (to remove the old line)
- Screwdriver or pliers (to tighten any loose parts on the frame)
- Gloves (to protect your hands, especially if the frame is old or rusty)
2: Measure of the new washing line:
First of all, you need to buy the washing line for your restringing. Before buying the new washing line, you must check how much line you need. There are different types of rotary washing lines most are 40m, 45m, 50m, or 60m long, but this can vary. If you do not know the length, use a tape measure to measure one arm of the rotary washing line and multiply it by the number of arms. Always buy a little extra line to allow for tying knots and moving between rows.
3. Measure, Cut, and Remove the Old Line, and Check the Rotary Frame
Before fitting the new washing line, first measure the distance arm by arm and for all arms together, and write it down. Then, cut the old line using scissors or cutters and carefully pull it out from all the holes in the arms. Once the old line is removed, check the rotary frame for any problems. Look for loose screws, sharp edges, or damaged parts. Tighten any loose screws with a screwdriver or pliers. If the frame is dirty or rusty, clean it, and if possible, paint it. This will help the new washing line last longer and make the dryer safer to use.
4. Time to Fix the New Washing Line
There are two ways to attach the new line: arm-by-arm or all around the arms.
Arm-by-Arm Method: Replace one arm at a time. Use the measurements you noted in Step 3 and cut the new line slightly longer than the old one, about 15 cm extra. Thread the line through the arm of the dryer and attach it to the plastic connector, leaving a bit more line (about 6.5 cm) at both ends. Repeat this for all lines. Make sure the outermost lines are attached only to the arms and not threaded all the way around.
All-Around Method: For this method, the line goes around all the arms. Cut the new line to about 4 times the length of one old line, plus a little extra. Thread the line through the arms and attach it to the plastic connector, leaving a bit more line (about 6.5 cm) at both ends. Repeat for all lines except the outermost, which should only be attached to each arm. Adjust the tension so the lines are tight but not too tight, using the plastic connectors if needed.
Once all the lines are fitted and the tension is correct, secure the ends in the plastic connectors and cut off any extra line, leaving about 2 cm. Open the dryer fully and check that it rotates smoothly before using it.
5. Final Check and Useful Tips
After fixing the new washing line, hang a few light clothes first to test it. If the line feels a little loose after use, gently tighten it again. Some washing lines stretch slightly over time, which is normal. Always avoid pulling the line too tight, as this can make the rotary dryer hard to open and close. With the correct tension and proper fitting, your rotary washing line should last for many years.
How to Restring a Brabantia WallFix Rotary Dryer (8 Tips)
To restring the Brabantia WallFix wall-mounted rotary dryer, here are 8 tips. It does not apply to other types of Brabantia dryers.
Steps:
- Start with the line closest to the centre of the dryer and work outwards.
- Open the dryer partially and remove the black caps from the arms.
- Cut off the old innermost line.
- Cut a new line of about 148 cm and attach a fastening clip at one end, leaving a small piece (3 cm) sticking out.
- Thread the new line through the dryer and attach a clip at the other end, leaving 5 cm sticking out.
- Open the dryer fully until you hear a click. Check the line tension. If needed, adjust the line using the 5 cm piece by sliding it through the clip.
- Close the dryer partially again and repeat the process for the remaining lines. The diagram (fig. 8) shows the correct lengths. All new lines should be fastened in a circle, just like the outermost old lines.
- Once all lines are adjusted correctly, cut off the extra ends (leave about 2 cm) and put the black caps back on.
In short, it’s about removing old lines, attaching new lines with clips, checking the tension, and replacing the caps.
FAQS
How Much Does it Cost to Restring a Rotary Washing Line?
If you’re stringing the rotary washing line by yourself, the main cost is only the replacement line, which can range from about £5 to £15 depending on the length and quality.
If you choose to hire someone to do it, there will be an extra charge for labour. Handyman or garden services charge anywhere from £30 to £75 or more, depending on travel and service fees.
How Long Does it Take to Restring a Rotary Washing Line?
Restringing a rotary washing line is usually a quick job. If you do it yourself, it typically takes about 30 to 90 minutes, depending on the size of your washing line and your experience. If someone else does it for you, like a handyman, it can be even quicker, often under an hour, since they have the tools and know-how.
Estimated Time Breakdown:
- Untangling & Preparation: 15–30 minutes.
- Threading & Knotting: 15–30 minutes.
- Tensioning & Finishing: 10–20 minutes.
Why Does my Washing Line Sag after Restringing?
A washing line can sag after restringing for a few common reasons. One main reason is that the line wasn’t pulled tight enough when tying the knots. Even a small looseness can cause sagging once the weight of wet clothes is added.
Another reason is the stretching of the new line. Some materials, especially cheaper nylon or polypropylene cords, can stretch slightly after the first few uses, making the line droop. Also, incorrect tensioning across the arms, where some lines are tighter than others, can cause uneven sag.
How Often Should I Restring My Rotary Washing Line?
You should consider restringing your rotary washing line every 1 to 3 years, depending on how often you use it and the weather conditions. Frequent use, strong sunlight, rain, or frost can weaken the line faster, causing sagging, fraying, or breakage.
Why Restring a Rotary Washing Line is Important?
Restringing a rotary washing line is important because it keeps the line strong, safe, and easy to use for drying clothes. Over time, the line can wear out from sun, wind, rain, and frequent use, causing fraying, stretching, or uneven tension. Heavy loads can even make the line snap, while repeated use may cause sagging that makes hanging clothes harder. Rough or knotted lines can also damage fabrics by causing snags or tears.




One Comment